Add supporting files to plan files
Use these instructions to add supporting files to plan files.
To add files to plan files:
- Open the desired plan file.
-
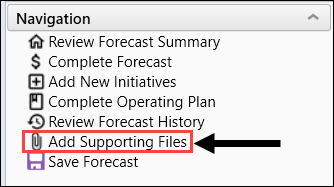
In the plan file navigation pane, double-click Add Supporting Files.
- In the Manage Attachments dialog, click Upload Attachment, and then select the file. The file is added to the Manage Attachments dialog.
- To add a description for the attachment:
- Select the attachment, and then click Edit Description.
- In the Edit Description dialog, type a description in the Description field.
- Click OK.
- To view a file, select the file and then click Open. The file opens in a supported application determined by the file type.
- To delete a file, select the file and then click Delete. In the confirmation dialog, click Yes.
- Click Close.
